Plastering and painting - The process
When you’re considering a fresh look for your home or business, the painting and plastering process is key to achieving a beautiful, long-lasting result. Whether you’re planning to refresh a single room or transform the entire building, knowing what to expect can help you feel confident in your project. Here’s a step-by-step guide to the painting and plastering process that our team follows.
1. Initial Consultation and Assessment
Before any work begins, we start with a detailed consultation. During this phase, we will:
- Discuss your vision: Whether you need plastering, painting, or both, we take the time to understand your desired finish and colour scheme.
- Inspect the area: We assess the surfaces for damage, cracks, or uneven textures, providing recommendations on necessary repairs.
- Provide a quote: After the inspection, we provide a clear and detailed quote, ensuring no surprises later.
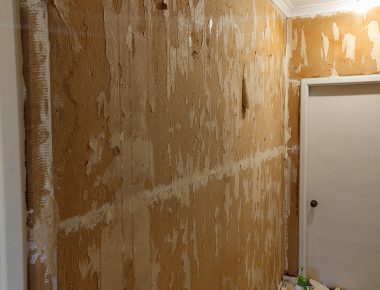
2. Surface Preparation: The Key to Longevity
Quality painting and plastering start with proper preparation. The preparation phase includes:
- Cleaning the surfaces: We clean the walls to remove dust, dirt, and grease, ensuring paint adheres well.
- Patching and repairing: Cracks, holes, and other imperfections are patched using high-quality Gib plaster.
- Sanding: Once the Gib plaster repairs are complete, we sand the area to create a smooth, even surface for painting.
Surface preparation is crucial for ensuring a smooth finish and preventing future peeling or cracking.
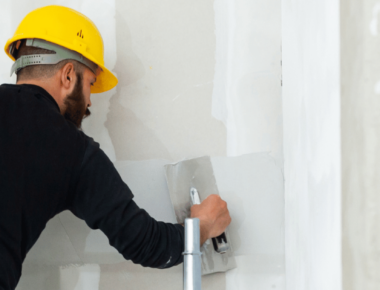
3. Plastering: Smoothing Imperfections
For areas that need plastering, we apply a fresh layer of Gib plaster to give your walls a smooth, flawless appearance. Plastering is a multi-step process:
- Applying the base layer: A first coat of plaster is applied to even out the surface.
- Smoothing the top layer: After the base layer dries, we apply a fine top coat to achieve a perfect finish.
- Drying time: We allow the plaster to dry completely before moving to the next step, ensuring optimal results.
4. Priming the Surface
Once the plaster has dried, the next step is priming the walls. Primer serves as the foundation for the final paint, ensuring better adhesion and coverage. It also helps to:
- Seal the plaster: Sealing primer such as Resene Sureseal protects the plaster and ensures the paint adheres to the wall and won’t soak into the plaster.
- Enhance the colour: By creating a uniform base, sealer primer helps the paint colour look vibrant and consistent.
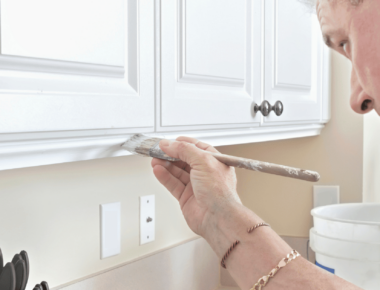
5. Painting: Bringing Your Vision to Life
With the surface prepped and primed, it’s time for the painting process. Our team applies top-quality paint from brands such as Wattyl and Dulux in multiple coats for long-lasting coverage.
- First coat: After the sealer primer, we apply the first coat of your chosen paint colour.
- Second coat: A second coat is applied after the first has dried, ensuring a durable and even finish.
- Detail work: We take care to protect trim, ceilings, and floors and focus on the finer details, such as cutting in around edges and corners.
6. Final Inspection and Touch-Ups
Once the painting is complete, we do a thorough inspection to ensure everything meets our high standards. If needed, we address any small touch-ups or imperfections to leave your space looking perfect.
7. Clean-Up and Customer Review
We take pride in leaving your space spotless. Our team ensures that all tools, materials, and protective coverings are removed, leaving you with a freshly painted and beautifully plastered area. We’ll also walk through the finished project with you to make sure you’re satisfied with the result.
With our professional painting and plastering process, you can trust that your project will be completed with care, attention to detail, and the highest quality materials.
Contact us today for a free quote and to learn more about how we can transform your home or business.
View other articles
Kitchen Paint – What’s the best type?
Gib Plastering – 5 Reasons to Hire a Professional